Total Pageviews

Sunday, August 9, 2020

Summer Staple - Ratatouille Quiche

 The thing that I love the most about summer is the ability to get all of the ingredients for Ratatouille.  It is one of my two favorite dishes to eat.  I make a big batch and then use it in other dishes.  Today, I used it in my quiche.  The most common recipe I use for my ratatouille is very wet, as I like to use it for a pasta sauce, so I have to remove as much moisture as I can before using it in the quiche.  It has been quite a journey to find the best material to use to do that.  Today, I tried a linen napkin, with pretty good results.  But the weave might be just a bit tight, so the experimentation continues.

Ratatouille Quiche with Goat Cheese

2 cups Ratatouille

1 cup goat cheese crumbles

8 basil leaves, chiffonade

8 large eggs

2 cups milk (I used 2%)

salt & pepper

1 1/2 cups Swiss cheese, shredded

Directions:

1) Preheat oven to 375 F.  Using cheese cloth or a linen towel, squeeze as much moisture as possible from the ratatouille.  Place ratatouille in a prepared casserole dish.

2) Sprinkle vegetables with goat cheese crumble.  Chiffonade the basil and sprinkle over the vegetables and goat cheese.

3) In a large bowl, mix together the eggs, milk and salt & pepper until well mixed. Pour over the vegetables.  Sprinkle with Swiss cheese.

4) Bake for 40 minutes or until center is set.  Allow to sit for 5 minutes before serving.

Note: the recipe for my ratatouille is linked above.


Catching up - Eggplant day!

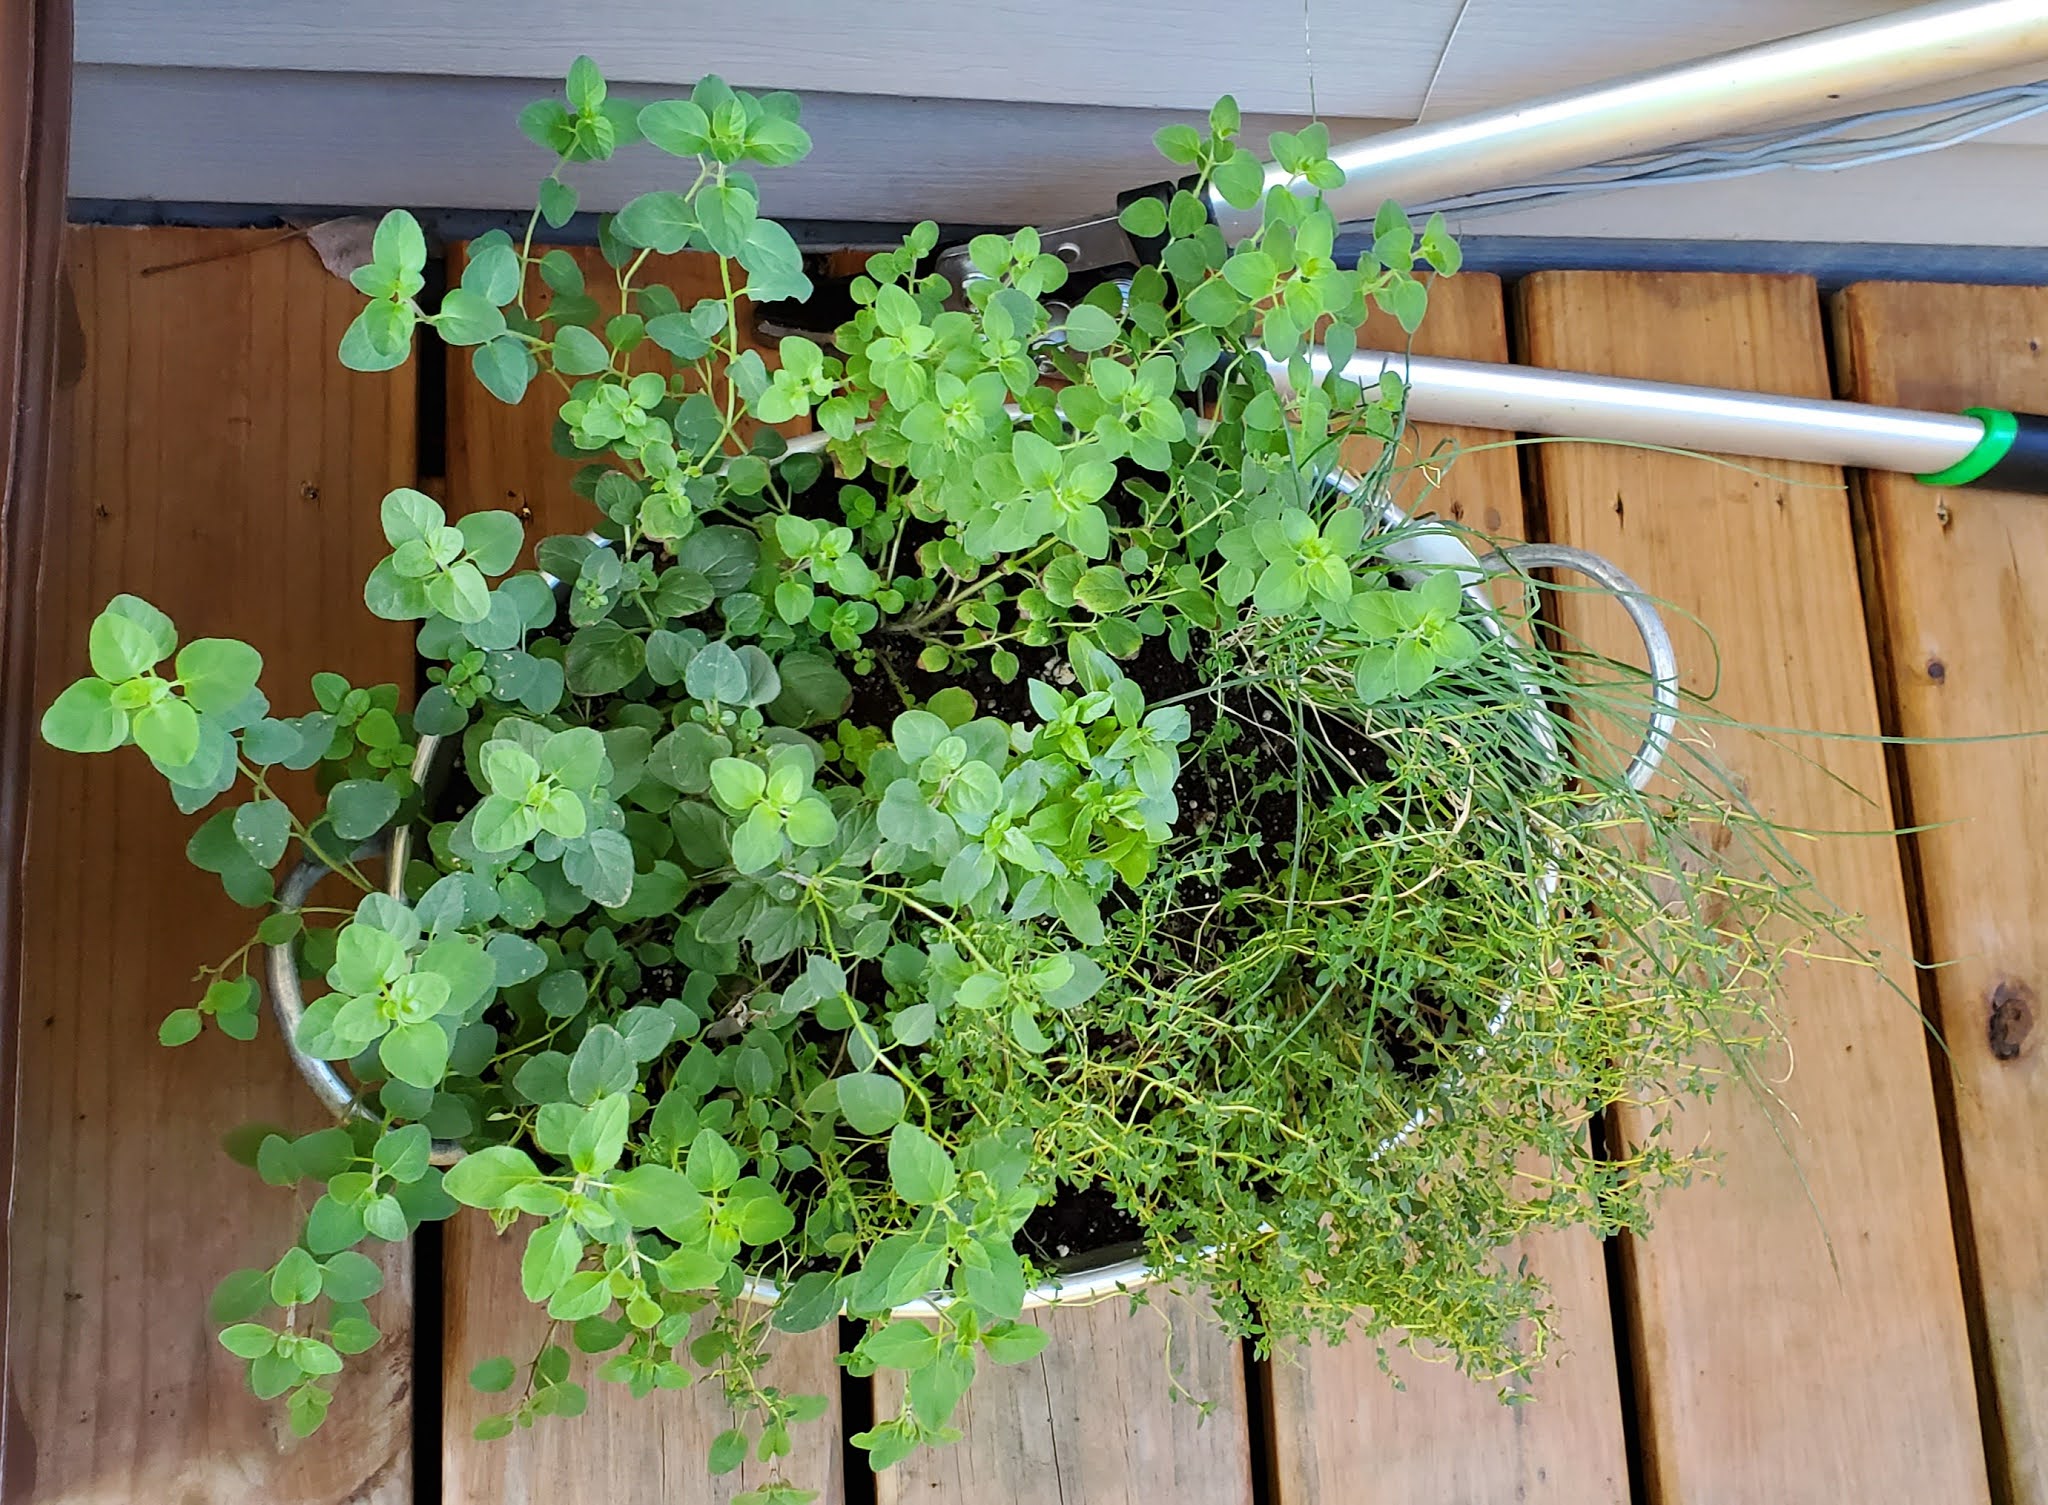
 I was just reminded by an old friend that there was a reason I started this blog.  While I am not subscribed to a CSA this summer, I am making regular trips to the farmers market and my garden is starting to produce.  So, today I have been cooking with eggplant all day.  So, first, here are some pictures of my garden this year;


I have a LOT of basil, but I truly believe you can never have enough basil!  

Today I picked my second Rosa Bianca Eggplant.  I turned the first one into eggplant pizza, but today I decided to make a lasagna.  Who knew a softball sized lasagna would make such a large lasagna!

Eggplant Lasagna

1 small Rosa Bianca (or globe) eggplant

salt

1 lb ground turkey

1 Tbsp extra virgin olive oil

1 small sweet onion, diced

2 cloves garlic, minced

24 oz. spaghetti sauce (I used Classico roasted garlic sauce this time)

8 basil leaves, chiffonaded

16 oz whole milk ricotta

1 large egg

1/4 cup parmesan cheese

1 1/2 cups Mozzarella, shredded

Instructions:

1. Slice the eggplant lengthwise into 1/8 inch slices.  Lay slices on double layers of paper towels.  Sprinkle with salt and allow to sit for 20 minutes until.  This is to remove the moisture from the eggplant.  Using another double layer of paper towels, sop up the moisture that results and brush excess salt off slices.  Set aside.

2. In a large skillet over med-high heat, heat 1 Tbsp olive oil.  Cook the onions over med-high heat until they start to become translucent.  Add ground turkey and cook until no longer pink.  Add garlic and cook and stir for about a minute more.  Drain this mixture.  

3. In a prepared casserole dish,, pour in about 1/2 cup spaghetti sauce. Pour remaining sauce into meat mixture and mix well.  Cook for about 2 minutes and then add basil and mix well.  Cook for about 10 minutes to thicken sauce.

4. Meanwhile, stir together ricotta, egg, and parmesan cheese until well mixed. 

5. To assemble, place about 6 slices of eggplant into casserole over sauce.  Spoon about half of the ricotta mixture over eggplant and spread evenly.  Spoon 1/3 of sauce over ricotta and sprinkle with 1/3 of the mozzarella.  Repeat those layers once.  Then layer on remaining slices of eggplant and sauce and top with the remaining mozzarella.  Cover and bake at 375 for 30 minutes.  Uncover and bake an additional 10 minutes or until the cheese is browned.

Note: The eggplant was a bit al dente in this initial run.  I would suggest cooking the slices for a short while before layering them in the casserole.  Or you could increase the covered cooking time to 40 minutes.


Thursday, April 30, 2020

Farmers Market Unstuffed Cabbage Roll Casserole

My colleague gave me a heads-up about being able to pick up a box of goods from a local farmers market.  I decided it was worth a 45 minute drive to get some fresh ingredients and in that box was ground been and a large head of cabbage.  I decided a perfect thing to do with that was to make a cabbage roll casserole.  I love stuffed cabbage, but I have a tiny kitchen, so it is hard to find the space to actually do the rolls.  So, instead, I decided to do an "unstuffed" casserole.  I also decided to try it in my Instant Pot, which makes life so easy because I can cook while I am working during this stay-at-home time.

Instant Pot Unstuffed Cabbage Roll Casserole

Adapted from https://www.365daysofcrockpot.com/instant-pot-cabbage-roll-casserole/

1 lb ground beef
1 tsp onion powder
1 tsp garlic powder
6 cups shredded cabbage (I used fresh, but you could likely use coleslaw mix)
1 cup quinoa (will also work with rice or brown rice)
1 1/2 cup beef stock
1 (15 oz) can tomato sauce
1 (15 oz) can diced tomatoes (I used fire-roasted)
1 cup sharp cheddar, shredded

Turn on your Instant Pot to Saute.  Add beef and break up.  Sprinkle with onion and garlic powders and cook until no longer pink.  Remove beef to plate lined with paper towels and pour off excess fat.  Return beef to instant pot and turn off Saute.  Add 1/2 of the stock and scrape brown bits from bowl.  Layer on the cabbage and then sprinkle with quinoa (or rice).  Pour remaining stock over the quinoa.  Then pour tomato sauce and tomatoes over all.  Place lid onto Instant Pot and make sure steam valve is closed.  Cook on High pressure for 8 minutes.  Allow to naturally off-steam for 10 minutes and then do a quick release (use a spoon or other utensil to open steam valve).  Then open lid, stir casserole to mix thoroughly and then sprinkle with cheese.  Replace lid and allow cheese to melt for 10 minutes.  Serve!

This could also be done in a slow cooker.  While cooking, you would need to monitor the level of liquid, but this should work as written.  However, stir ingredients before putting on lid for cooking in a slow cooker.  Cook on LOW for 6-8 hours or HIGH 3-4 hours.  Add cheese at end and allow to melt before serving.

This recipe makes about 16 servings and is 3 points per serving on WW purple.

Wednesday, August 15, 2018

Sweet Corn & Chorizo

It has been SO long since I have blogged here.  I am not really sure why, other than the fact that my life has been in such a flux for the past couple years.  But I am finally settled for a little while, so I figured it was time to post a new recipe.  Our CSA started back up about a month ago.  I have been traveling so much that I have not managed to cook for a while, but tonight I needed to use up some corn.  I had already put up 12 ears a couple weeks ago, so I didn't want to freeze this batch.  So I decided it was time to give my slow cooker a workout too and make some chowder.  As I was putting it all together, I remembered that I had a beautiful Spanish chorizo, so I diced some of it and used it to flavor the chowder.

Corn & Chorizo Chowder

5 ears of corn*, kernels cut off
5 small red skin* potatoes
1 small candy onion*, chopped
2 1/2 cups chicken stock
2 tsp kosher salt
1 tsp fresh ground pepper
4 oz Spanish chorizo, diced
1 cup evaporated milk or heavy cream

1. Cut corn kernels from the cob.  Set aside 1 cup kernels.  Add all ingredients into crock of slow-cooker.  Cover and cook on LOW until potatoes are cooked.

2. Remove half of the chowder to a blender.  Allow to cool slightly, then puree until smooth.  Return puree to crockpot and add evaporated milk or cream.  Cook on LOW until heated through.  Garnish with fresh corn, if desired.


*CSA ingredients

Wednesday, August 24, 2016

Mini-Quiches Lorraine

I promised that I would post the recipe for the mini quiches from Home Chef from a couple weeks ago and because of travel and then the beginning of the school year, I never got around to posting.  So, here is the recipe:

Mini-Quiches Lorraine
Adapted from: Home Chef recipe
  • 4 fl. oz. Liquid Egg (or 2 whole eggs)
  • 3 bacon strips
  • 1 shallot (or small onion)
  • 4 puff pastry dough squares (frozen foods)
  • 2 fl oz milk
  • 1 1/2 oz shredded Swiss cheese
  • Salt & Pepper
 Preheat oven to 400F.  Prepare a 6-well muffin pan (or a 12-well if that is all you have) with cooking spray.  Dice the bacon into 1/2 inch dice.  Mince the shallot (or finely dice the onion).  Thaw the puff pastry.
In a medium skillet, place bacon over medium heat.  Cook 5-8 minutes, stirring occassionally, or until crisp.  Remove pieces to a towel lined plate.  Separate the pastry squares and place each square in the muffin tin.  Lightly lift and press the dough into the cups.  The dough should cover the bottoms and sides, with the corners of each dough sticking over the edges.  Refrigerate tin while preparing remaining ingredients. 
Drain most of the bacon drippings from the skillet (leaving about 2 tsp) and a place over medium heat.  Add the shallots and saute, until the shallots have softened and started to brown.  Remove from heat and set aside.  
Mix the liquid egg (eggs), milk, shallots, 1/4 tsp salt and 1/4 tsp pepper in a mixing bowl.  Remove the muffin tin from the refrigerator.  Divide the bacon and cheese between the cups, then fill cups 2/3 full with egg mixture.  Roll and crimp quiche edges and place the muffin tin on a prepared baking sheet (in case they overflow while cooking).  Bake 20-25 minutes or until dough browns and filling is set (doesn't jiggle when pan is tapped).  Rest quiches 5 minutes before carefully removing from muffin tin.


Saturday, July 23, 2016

Zucchini & Corn

The one thing that I have gotten a lot of this summer so far is zucchini and summer squash.  And this week, we got our first ears of corn.  So, I looked around and finally decided to make a quiche using these two ingredients.  The corn, when I cut it from the cobs was super sweet, a nice surprise so early in the season!

Zucchini Corn Quiche

This is not an original recipe to me.  It is an adaptation of this recipe: http://pinchofyum.com/sweet-corn-zucchini-pie

  • 4 tablespoons butter
  • Whole sweet onion, diced
  • 2 ears sweet corn*
  • 1 large zucchini*, sliced very thinly (about 2 cups)
  • 1 large yellow summer squash*, sliced very thinly (about 2 cups)
  • 8 ounces sliced mushrooms
  • 1 tsp fresh basil*
  • 1/2 tsp fresh oregano
  • ½ teaspoon salt
  • 12 ounces shredded cheese (I used cheddar)
  • 4 eggs*, beaten
  • 1 cup 1% milk 
Preheat the oven to 375 degrees. Heat the butter in a large, deep skillet over medium high heat. Add the onions, zucchini, and mushrooms. While the veggies saute, cut the corn kernels off the cob. Add them to the pan and continue to saute until the veggies are soft, 5-10 minutes. Remove from heat to a bowl lined with cheesecloth.  Once cooled enough to handle, twist cheesecloth to press out as much liquid as possible (this will prevent the quiche from being too wet.

Stir in the basil, oregano, salt, cheese, and the beaten egg. Line a pie pan (9-inch or larger) with parchment paper or just grease a pan with nonstick spray. Transfer the mixture to the pan. Arrange the top so the zucchini slices lay flat and look nice. Top with a little extra cheese for looks and bake for 40 minutes. Let stand for 10-15 minutes before cutting into slices.


*CSA ingredients

Party time!

Well, it is summer and time for deck parties.  I have been very remiss this past year keeping up with this blog for many reasons.  The first of which would be the fact that I have not cooked as much as I should be!  Second, it has been a crazy up and down year.  The down is the fact that my husband has been diagnosed with stage 4 prostate cancer.  The up is the living that I am making him do (plus all the traveling for school I've done).  This year, so far, I have been Lisbon, Portugal; Paris, France; Tampa, FL; Boston, MA; and Colorado Springs, CO.  Trips to be taken during the rest of the year: Tampa, FL; Stratford, ON, CA (for the Shakespeare festival); San Antonio, TX; and possibly back to Tampa, FL (to see my g'pa and meet with my colleague).  This along with working full time and all the art stuff I've been working on.  I am so proud of the fact that it seems I am getting a handle on painting and drawing now.  Most proud of this painting drawn and then painted from a picture I took outside Monet's house in Giverny, France:


Oh, and I forgot to mention that I adopted these two rascals:


So, yes, I think I have a few excuses, but I think we are settling down a bit now.  And, of course, the CSA has started for this summer, so it's time to start cooking again.  I got lucky in that the CSA started in time for my first party.  I didn't get pictures of the food, but I will put the recipes up because I used a LOT of what I got from both of my CSAs for this party.

Braised Pork 

For this batch, I used my time-honored braised pork recipe, but mixed up the herbs a bit because of what I had available:


  • 1 3.5 pound pork shoulder roast*
  • 6 sprigs fresh thyme
  • 4 sprigs Thai basil*
  • 1 can chopped green chiles
  • water
  • salt & pepper
Trim the fat on the roast.  Sprinkle liberally with salt and pepper.  Place in a large Dutch oven.  Add green chiles, thyme and basil.  Pour water over all until halfway up the roast.  Bring to a boil and then cover and reduce heat to simmer for about 3 hours or until the roast reaches an internal temperature of 180 - 190F.  Remove from the Dutch oven and cover with foil.  Allow to cool until able to be handled.  Pull pork, removing most of the fat as you pull.  Serve with BBQ sauce.

Homemade BBQ Sauce

I also prefer to make my own BBQ sauce when I make my pulled pork.  And I always get positive comments when it is all said and done.  Unfortunately, I no longer have my sorghum, so I substituted molasses.  It gave it a darker flavor which I wasn't sure about, but in the end, everyone liked it.  I would like to find sorghum again because it is perfect for my BBQ sauce.

  •  3 cups ketchup
  • 1 cup molasses
  • 1/2 cup cider vinegar
  • 1/2 cup honey
  • 4 thyme sprigs
Place all ingredients in small saucepan.  Heat until boiling; reduce heat and simmer 1 minute.  Adjust flavors as needed.

 Memphis-style Coleslaw

So, if you are going to serve pulled pork, you need coleslaw, right?  I don't eat it myself (have never liked raw cabbage), but there is always someone who wants cabbage with their BBQ.  And, of course, I had just gotten cabbage from the CSA, so why not, eh?

  • 1/2 medium head green cabbage*, shredded
  • 1 small head radicchio*, shredded
  • 2 carrots*, peeled and grated
  • 2 Cups mayonnaise (I used olive oil mayo)
  • 3/4 cup sugar
  • 1/4 Cup seedy mustard
  • 1/4 Cup cider vinegar
  • 2 Tbsp celery seeds
  • 1 tsp salt
  • 1 tsp Worcestershire sauce
Wash and prepare the vegetables and place in a large bowl.  Mix remaining ingredients in a small bowl and then pour 2 cups of dressing over the vegetables and mix well.  Add more dressing as needed.  Allow to marinate in refrigerator a minimum of 3 hours before serving.

Bourbon BBQ Baked Beans

 And of course, since I had BBQ sauce left over and other fresh veggies, I decided to go ahead and make baked beans as well.

  • 4 (15-oz) cans Pinto Beans, drained & rinsed
  • 8 oz bacon*, cooked & crumbled
  • 1 onion, diced & browned
  • 4-6 cloves garlic*, minced and browned
  • 1 large red pepper, diced and sauteed
  • 1 Cup BBQ sauce
  • 1 Cup brown sugar, lightly packed
  • 2 Tbsp molasses
  • 2 Cups homemade chicken broth
  • 1 Cup bourbon (I used Knob Hill)
  • Salt to taste
Drain and rinse beans and place in crock-pot.  Saute the vegetables and add to crock.  Add remaining ingredients.  Mix well.  Cover and cook for 10 hours on LOW or until the beans are the consistency desired and the alcohol has cooked down.

*CSA ingredients.